agelgil/filament-maps
Composer 安装命令:
composer require agelgil/filament-maps
包简介
Map components for Filament.
README 文档
README
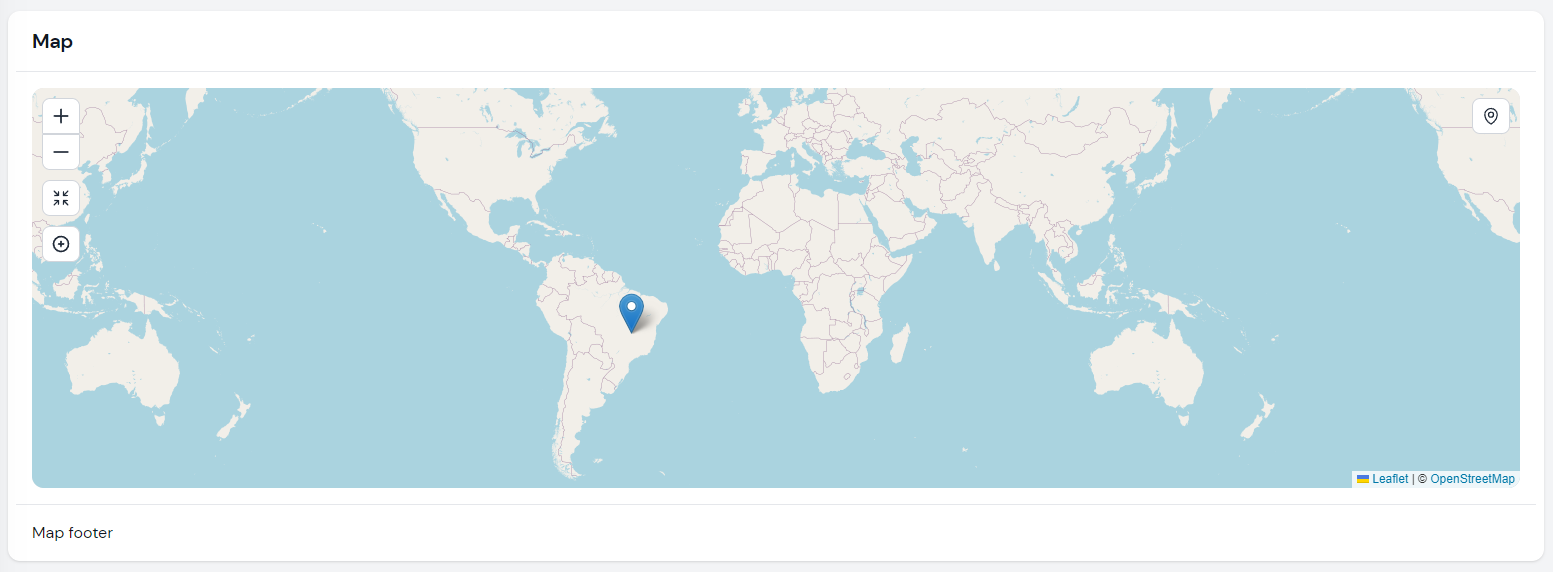
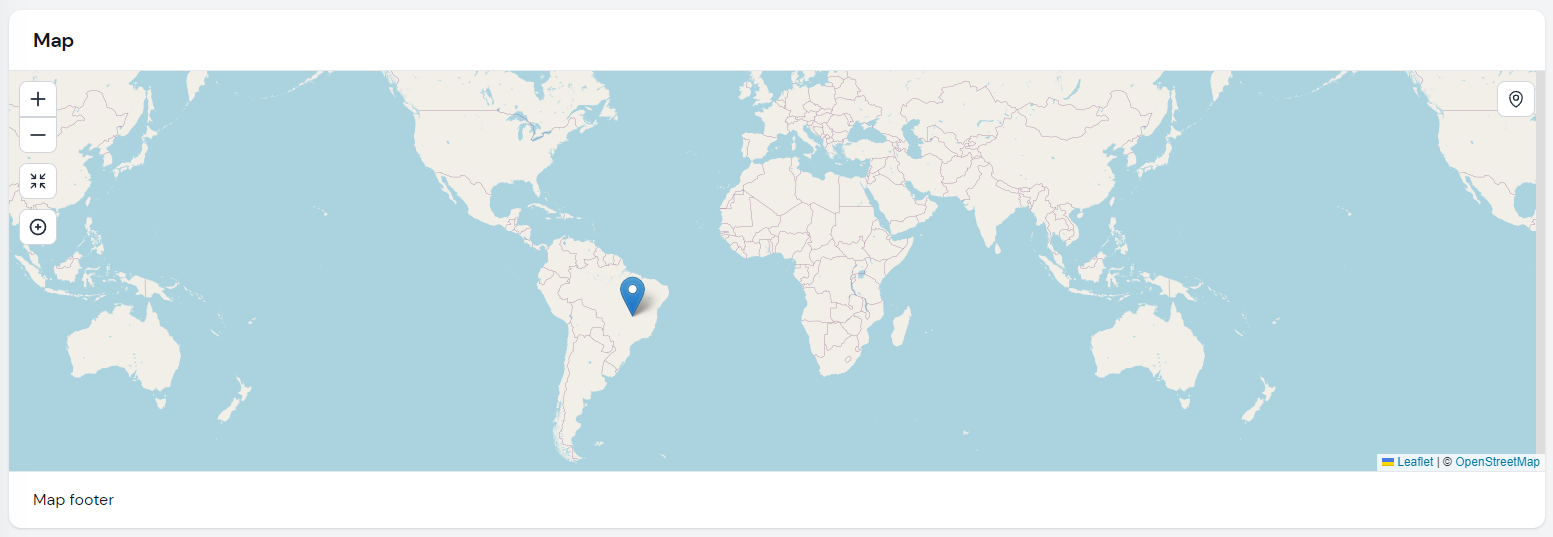
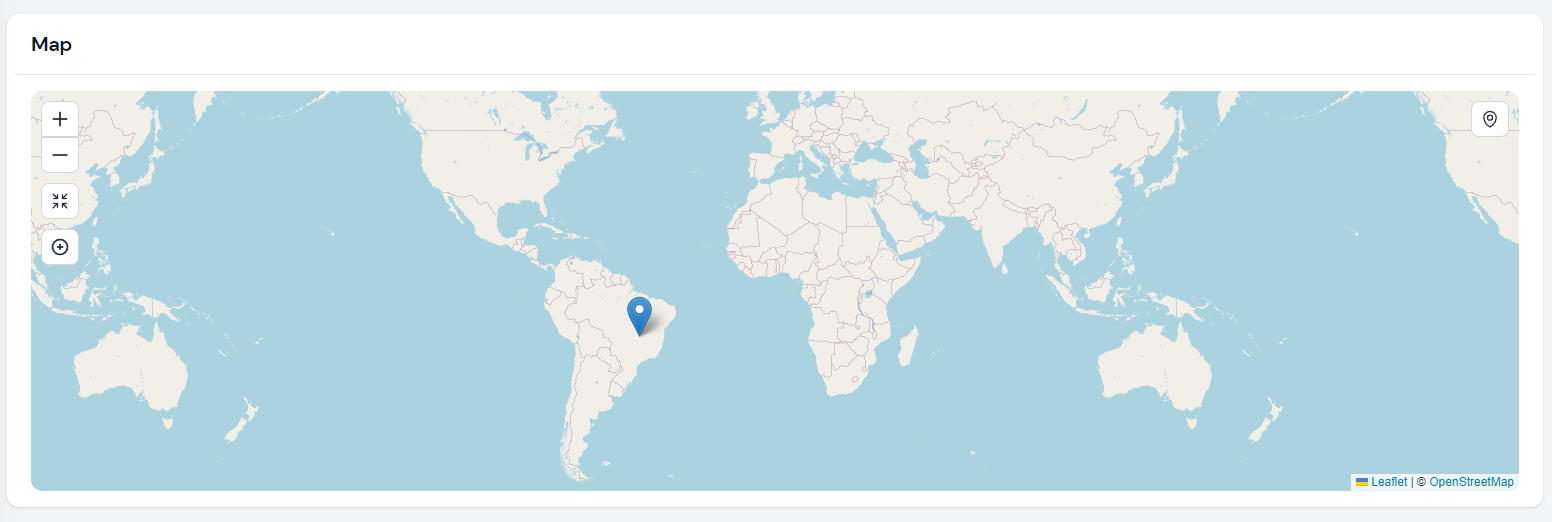
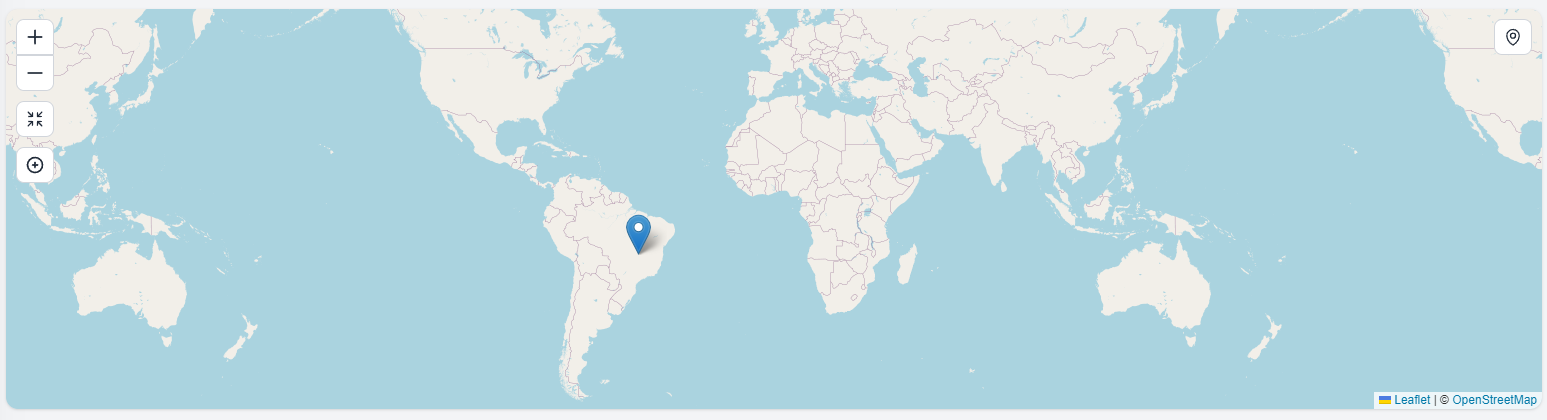
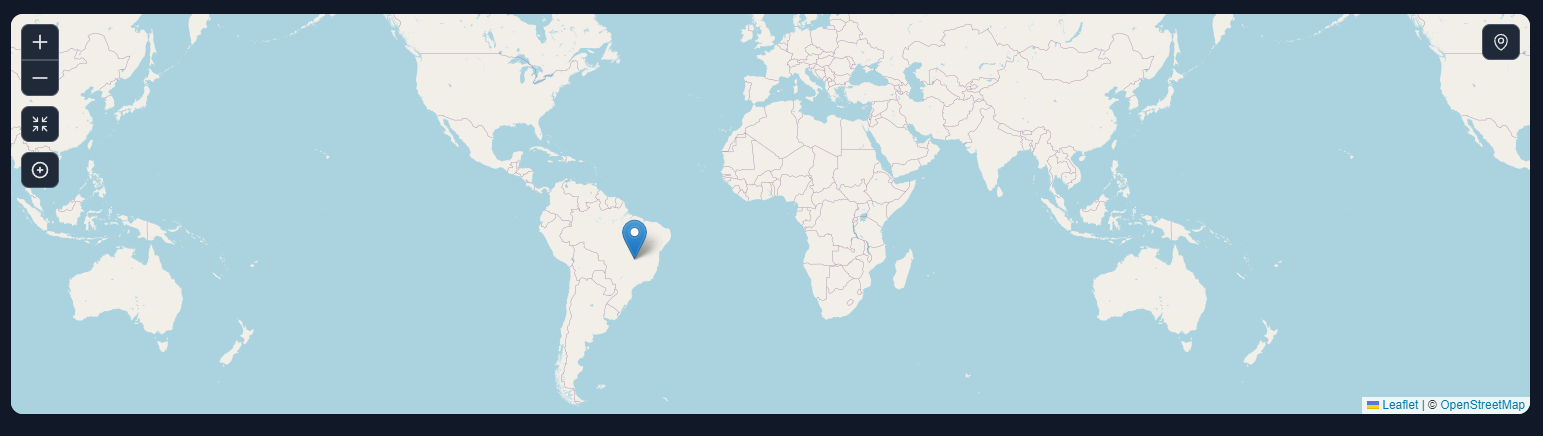
Render map widgets using Leaflet.
- Support for multiple maps on the same page
- Built-in actions:
CenterMapAction,ZoomAction,FullpageActionand ,FullscreenAction - Add Filament Actions directly on the as map control buttons
- Multiple layers support. A DarkModeTile layer is included.
- Marker clustering support
Note For Filament 2.x use 2.x branch
Installation
composer require webbingbrasil/filament-maps
Usage
Create a widget class and extend Webbingbrasil\FilamentMaps\Widgets\MapWidget:
use Webbingbrasil\FilamentMaps\Actions;
use Webbingbrasil\FilamentMaps\Marker;
use Webbingbrasil\FilamentMaps\Widgets\MapWidget;

class Map extends MapWidget
{
    protected int | string | array $columnSpan = 2;

    protected bool $hasBorder = false;

    public function getMarkers(): array
    {
        return [
            Marker::make('pos2')->lat(-15.7942)->lng(-47.8822)->popup('Hello Brasilia!'),
        ];
    }

    public function getActions(): array
    {
        return [
            Actions\ZoomAction::make(),
            Actions\CenterMapAction::make()->zoom(2),
        ];
    }
}
If you create a new widget using the
make:filament-widgetcommand, remember to remove the view created along with it otherwise the map will not be rendered.
Map Configuration
For some configuration its possible to use properties:
$mapOptions: array with options available on Leaftlet. See Leaflet documentation for more details.$tileLayerUrl: string or array with tile layer url`s. Default to OpenStreetMap.$hasBorder: show a border around the map. Default istrue.$rounded: show a rounded border around the map. Default istrue.$height: height of the map. Default is400px.$heading: set the heading of the map.$footer: set the footer of the map.$fullpage: show the map in fullpage mode. Default isfalse.
But you can also use the setUp method if you need more control:
public function setUp(): void
{
    $this
        ->tileLayerUrl(...)
        ->height(..)
        ->rounded(..)
        ->mapOptions(..)
        ->mapMarkers([
            ...
        ])
        ->fitBounds([
            [lat, lng],
            [lat, lng]
            ...
        ])
        ->actions([
            ..
        ]);
}
The
setUpmethod is called onmountof the widget. See livewire lifecycle hooks for more information.
Global Configuration
If you want to set a default configuration for all instances of the map widget, you can use the configureUsing method in a service provider:
MyMap::configureUsing(function (ResellerMap $widget) {
    $widget->mapMarkers([
        Marker::make('id')
            ->lat(51.505)
            ->lng(-0.09)
            ->popup('I am a popup')
            ->tooltip('I am a tooltip'),
    ])
    ->tileLayerUrl('https://{s}.tile.openstreetmap.org/{z}/{x}/{y}.png')
    ->tileLayerOptions([
        'attribution' => 'Map data © <a href="https://openstreetmap.org">OpenStreetMap</a> contributors',
    ])
});
Tile Layers
The map uses OpenStreetMap tiles by default, but you can change it to use any other provider using $tileLayerUrl property or tileLayerUrl method. It's recommended to also use the tileLayerOptions to set correct attributions.
Multiple Tile Layers
You can also use multiple tile layers:
protected string | array  $tileLayerUrl = [
    'OpenStreetMap' => 'https://{s}.tile.openstreetmap.org/{z}/{x}/{y}.png',
    'OpenTopoMap' => 'https://{s}.tile.opentopomap.org/{z}/{x}/{y}.png'
];

protected array $tileLayerOptions = [
    'OpenStreetMap' => [
        'attribution' => 'Map data © <a href="https://openstreetmap.org">OpenStreetMap</a> contributors',
    ],
    'OpenTopoMap' => [
        'attribution' => 'Map data © <a href="https://openstreetmap.org">OpenStreetMap</a> contributors, SRTM | Map style © <a href="https://opentopomap.org">OpenTopoMap</a> (<a href="https://creativecommons.org/licenses/by-sa/3.0/">CC-BY-SA</a>)',
    ],
];
And you can use a action to change the tile layer:
Actions\Action::make('mode')
                ->icon('filamentmapsicon-o-square-3-stack-3d')
                ->callback('setTileLayer(mode === "OpenStreetMap" ? "OpenTopoMap" : "OpenStreetMap")'),
Dark Mode
If you want to use a dark mode tile layer, you can use the HasDarkModeTiles trait. This trait will automatically set two tiles layers and listen Filament dark-mode-toggled event. You can change the default tile layers using the $lightModeTileLayerUrl and $darkModeTileLayerUrl properties.
Actions
You can add actions to the map widget. Actions are buttons that can be clicked to perform an action using a JS callback. You can create your own actions or use the ones provided by the package.
Zoom Action
The ZoomAction action will add a button to the map that will zoom in or out the map. You can set the zoom level using the zoom() method:
use Webbingbrasil\FilamentMaps\Actions;
Actions\ZoomAction::make()->zoom(2), // Zoom in/out 2 levels
Center Map Action
This action will center the map on a specific position.
use Webbingbrasil\FilamentMaps\Actions;

public function getActions(): array
{
    return [
        Actions\CenterMapAction::make()->centerTo([51.505, -0.09])->zoom(13),
    ];
}
You can also center the map on user position:
Actions\CenterMapAction::make()->centerOnUserPosition()->zoom(13)
Note: The center on user position feature will only work if the user browser supports Navigator.geolocation. Also, the user must be on a secure context (HTTPS) and needs to allow access to the location.
Fit Bounds
You can use fitBounds() to adjusts the zoom level and center of the map to show a given geographical area
Actions\CenterMapAction::make()->fitBounds([
   [lat, lng],
   [lat, lng],
])
You can pass multiple points to be used in fitBounds or use the initial bounderies configured in setUp()
public function setUp(): void
{
    $this->fitBounds([
        [lat, lng],
        [lat, lng],
        ...
    ]);
}

public function getActions(): array
{
    return [
        CenterMapAction::make()->fitBounds($this->getFitBounds()),
    ];
}
Full Page or Full Screen Action
You can add a button to the map to show it in full page or full screen mode.:
use Webbingbrasil\FilamentMaps\Actions;
Actions\FullpageAction::make()
Actions\FullscreenAction::make()
Custom Action
You can create your own actions using Webbingbrasil\FilamentMaps\Actions\Action.
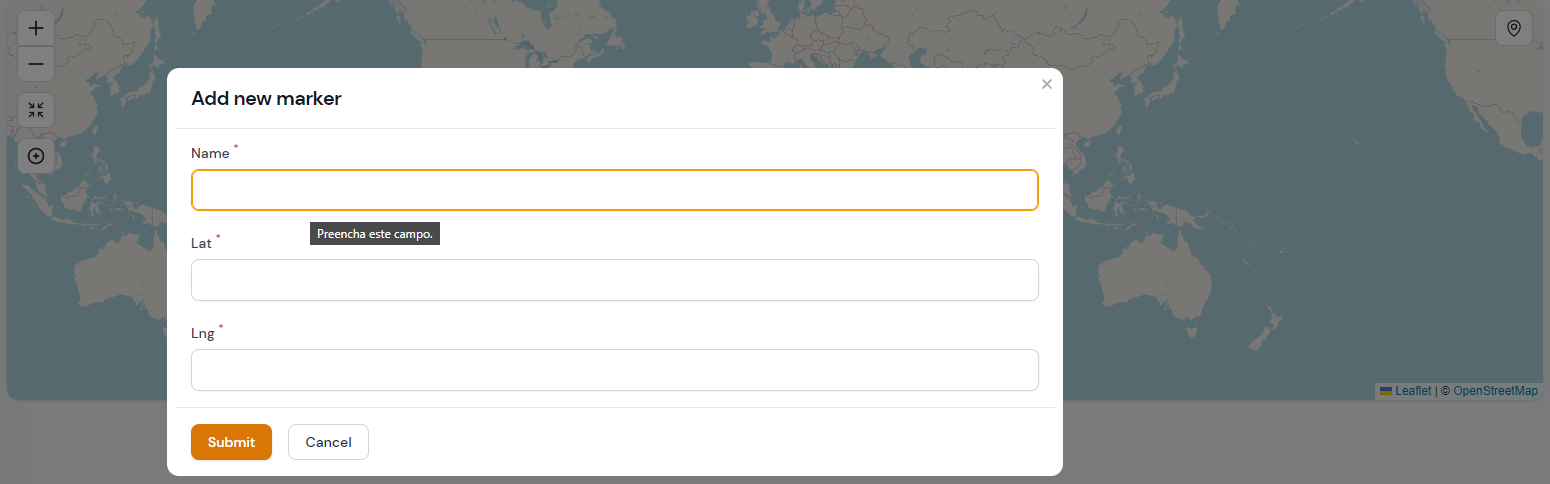
For example, a action to add new markers:
use Webbingbrasil\FilamentMaps\Actions;

Actions\Action::make('form')
        ->icon('filamentmapsicon-o-arrows-pointing-in')
        ->form([
            Forms\Components\TextInput::make('name')
                ->label('Name')
                ->required(),
            Forms\Components\TextInput::make('lat')
                ->label('Latitude')
                ->required(),
            Forms\Components\TextInput::make('lng')
                ->label('Longitude')
                ->required(),
        ])
        ->action(function (array $data, self $livewire) {
            $livewire
                ->addMarker(
                    Marker::make(Str::camel($data['name']))
                        ->lat($data['lat'])
                        ->lng($data['lng'])
                        ->popup($data['name'])
                )
                ->centerTo(location: [$data['lat'], $data['lng']], zoom: 13)
        })
In this example we use addMarker() method to add a new marker dynamically and centerTo() to set new map center and zoom level.
You can manipulate markers data using:
$liveWire->mapMarkers(array $markers); // update the markers
$livewire->addMarker(Marker $marker); // add a new marker
$livewire->removeMarker(string $id); // remove a marker
$livewire->updateMarker(string $id, Marker $marker); // update a marker
Note: Markers need to have a unique name. If you try to add a marker with the same name as an existing one, the existing one will be replaced.
Using JS
This approach is useful if you want to use a custom javascript to manipulate the map without using Livewire.
Actions\Action::make('center')
    ->alpineClickHandler(<<<JS
        map.setView([0,0], 2)
    JS)
Use
mapproperty to access the Leaflet instance on your action handler.
Action Position
You can set the position of the action using position() method:
$this
    ->actions([
        Actions\CenterMapAction::make()->position('topright'),
    ])
}
Action Icon
You can set the icon of the action using icon() method:
Actions\Action::make()->icon('heroicon-o-home')
Markers
You can add markers to the map widget. Markers are points on the map that can be clicked to open a info popup or execute a JS callback.
use Webbingbrasil\FilamentMaps\Marker;

$this
    ->mapMarkers([
        Marker::make('id')
            ->lat(51.505)
            ->lng(-0.09)
            ->popup('I am a popup'),
        Marker::make('id')
            ->lat(51.505)
            ->lng(-0.09)
            ->tooltip('I am a tooltip')
            ->callback(<<<JS
                alert('Hello World!');
            JS),
    ])
}
The callback method is called during the rendering of the marker and must return a JS that will be executed on event click. Use
mapto access the Leaflet instance in your callback.
Marker Cluster
You can use the MarkerCluster class to group markers in clusters. This is useful if you have a lot of markers on the map.
use Webbingbrasil\FilamentMaps\MarkerCluster;

$this
    ->mapMarkers([
        MarkerCluster::make([
            Marker::make('id')
                ->lat(51.505)
                ->lng(-0.09)
                ->popup('I am a popup'),
            Marker::make('id')
                ->lat(51.505)
                ->lng(-0.09)
                ->tooltip('I am a tooltip')
                ->callback(<<<JS
                    alert('Hello World!');
                JS),
        ]),
    ])
}
Marker Icon Color
You can set the color of the marker icon using color() method:
Marker::make('id')
    ->color(Marker::COLOR_RED)
See the Marker::COLOR_* constants for all available colors. Default color is Marker::COLOR_BLUE.
Marker Custom Icon
You can set a custom icon for the marker using icon() method:
Marker::make('id')
    ->icon(
        string $iconUrl,
        string $shadowUrl,
        array $iconSize,
        array $iconAnchor,
        array $popupAnchor,
        array $shadowSize
    )
You can get extra icons and reledate config from leaflet-color-markers
Display Marker Details
At the time, markers do not have the same functionality as Actions but using livewire events you can do something similar, for example:
Add a callback to yout marker:
Marker::make('place')->callback('Livewire.emit("updateFooter", ' . $placeId . ')');
Register event listener in map widget:
protected $listeners = ['updateFooter' => 'showMarkerData'];

public function showMarkerData($placeId)
{
    $place = Place::find($placeId);
    $this->footer = view('marker-details', $place);
}
Polylines
You can add polylines to the map widget. Polylines are lines on the map drawn on the map between two lat/lng points. If your have multiple polylines, each polyline must have an unique name.
public function getPolylines(): array
{
    return [
        Polyline::make('polyline')
        ->latlngs([
            [45.51, -122.68],
            [37.77, -122.43],
            [34.04, -118.2]
        ])->options(['color' => 'blue', 'weight' => 5])
        ->tooltip('I am a tooltip')
        ->popup('I am a popup'),
    ];
}
You can use options listed at Leaflet Polyline options
Polylines actions
You can use actions as described above to manipulate polylines:
Actions\Action::make('add line')
    ->tooltip('Add line')
    ->icon('filamentmapsicon-o-map-pin')
    ->form([
        Forms\Components\TextInput::make('name')
            ->label('Name')
            ->required(),
        Forms\Components\Section::make('Start')
            ->schema([
                Forms\Components\TextInput::make('lat1')
                    ->label('Latitude')
                    ->required(),
                Forms\Components\TextInput::make('lng1')
                    ->label('Longitude')
                    ->required(),
            ]),
        Forms\Components\Section::make('End')
            ->schema([
                Forms\Components\TextInput::make('lat2')
                    ->label('Latitude')
                    ->required(),
                Forms\Components\TextInput::make('lng2')
                    ->label('Longitude')
                    ->required(),
            ]),
    ])
    ->action(function (array $data, self $livewire) {
        $livewire
            ->addPolyline(
                Polyline::make(Str::camel($data['name']))
                    ->latlngs([
                        [$data['lat1'], $data['lng1']],
                        [$data['lat2'], $data['lng2']]
                    ])
            );
    })
In this example we use addPolyline() method to add a new polyline dynamically. You can also use removePolyline() and updatePolyline() methods.
$livewire->addPolyline(Polyline::make('polyline-name')->latlngs([...])->options([..]));
$livewire->removePolyline('polyline-name');
$livewire->updatePolyline(Polyline::make('polyline-name')->latlngs([...])->options([...]));
Polygones
You can add polygones to the map widget. Polygones are lines on the map drawn on the map between two lat/lng points. If your have multiple polygones, each polygone must have an unique name.
public function getPolylgones(): array
{
    return [
        Polygone::make('polygone')
        ->latlngs([
            [45.51, -122.68],
            [37.77, -122.43],
            [34.04, -118.2]
        ])->options(['color' => 'blue', 'weight' => 5])
        ->tooltip('I am a tooltip')
        ->popup('I am a popup'),
    ];
}
You can use options listed at Leaflet Polygone options
Polygones actions
$livewire->addPolygone(Polygone::make('polygone-name')->latlngs([...])->options([..]));
$livewire->removePolygone('polygone-name');
$livewire->updatePolygone(Polygone::make('polygone-name')->latlngs([...])->options([...]));
Rectangles
You can add rectangles to the map widget. If your have multiple rectangles, each rectangle must have an unique name.
public function getRectangles(): array
{
    return [
            Rectangle::make('rectangle')
                ->bounds([
                    [54.559322, -5.767822],
                    [56.1210604, -3.021240]
                ])->tooltip('rectangle')
                ->options(['color' => 'red'])
    ];
}
You can use options listed at Leaflet Rectangle options
Rectangles actions
$livewire->addRectangle(Polygone::make('rectangle-name')->bounds([...])->options([..]));
$livewire->removeRectangle('rectangle-name');
$livewire->updateRectangle(Polygone::make('rectangle-name')->bounds([...])->options([...]));
Circles
You can add circles to the map widget. If your have multiple circles, each circle must have an unique name.
public function getCircles(): array
{
    return [
            Circle::make('circle')
                ->lat(-15.7942)
                ->lng(-47.8822)
                ->options(['radius' => 200000])
                ->popup('Hello Brasilia!')
                ->tooltip('test2'),
    ];
}
You can use options listed at Leaflet Circle options
Rectangles actions
$livewire->addCircle(Circle::make('circle-name')->lat(...)->lng(...)->options([..]));
$livewire->removeCircle('circle-name');
$livewire->updateCircle(Circle::make('circle-name')->lat(...)->lng(...)->options([...]));
Images
Credits
agelgil/filament-maps 适用场景与选型建议
agelgil/filament-maps 是一款 基于 PHP 开发的 Composer 扩展包,目前已累计 376 次下载、GitHub Stars 达 0, 最近一次更新时间为 2024 年 09 月 02 日, 在 PHP 生态内属于活跃度较高的组件。
它主要适用于以下技术方向: 「laravel」 「filament」 等业务场景。在实际项目中,围绕这些方向常见需要落地的问题包括:接口对接、性能调优、并发安全、与既有框架(Laravel / ThinkPHP / Yii / Webman 等)的兼容适配,以及生产环境的日志埋点与稳定性保障。
我们在过去多个企业项目中使用过 agelgil/filament-maps 或与其功能相近的方案,如果你在选型或落地过程中遇到问题,例如 版本兼容、二次改造、私有化封装、与内部系统对接、生产 BUG 排查,欢迎联系我们协助评估。
基于 agelgil/filament-maps 在你已有业务上做功能扩展、字段裁剪、UI 适配、与内部账号 / 权限 / 日志系统的深度对接。
线上偶发问题、内存泄漏、慢查询、并发异常等排查修复;针对高流量场景做缓存、队列、索引层面的调优。
承接完整的项目从需求 → 设计 → 开发 → 上线 → 长期运维;也可按月提供技术保姆服务。
与 agelgil/filament-maps 相关的其它包
同方向 / 同关键字的高下载量 PHP Composer 包推荐,方便对比选型:
Alfabank REST API integration
Database-driven onboarding for Filament: progress checklists and guided spotlight tours, translatable to any locale.
Laravel package for Accurate Online API integration.
Create-project starter for a Laravel application with the public Capell CMS foundation.
Shared RCX Laravel DataTables UI and configuration helpers.
Boot a Laravel project on any machine with one command: app:serve installs missing tools (PHP, Node, Composer, Herd, Docker), creates .env, sets up the database, runs migrations, builds assets, starts a queue worker and serves via Herd, Sail or artisan serve; app:down cleanly stops everything it sta
统计信息
- 总下载量: 376
- 月度下载量: 0
- 日度下载量: 0
- 收藏数: 0
- 点击次数: 21
- 依赖项目数: 0
- 推荐数: 0
其他信息
- 授权协议: MIT
- 更新时间: 2024-09-02