vormkracht10/filament-two-factor-auth
最新稳定版本:v3.0.0
Composer 安装命令:
composer require vormkracht10/filament-two-factor-auth
包简介
This package helps you integrate Laravel Fortify with ease in your Filament apps.
README 文档
README
Warning
This package is now ABANDONED as of Filament v4. Filament now includes built-in multi-factor authentication functionality. Please migrate to the official Filament MFA documentation for your 2FA needs.
Nice to meet you, we're Vormkracht10
Hi! We are a web development agency from Nijmegen in the Netherlands and we use Laravel for everything: advanced websites with a lot of bells and whitles and large web applications.
About the package
This package adds Two Factor Authentication for your Laravel Filament app, using the first party package Laravel Fortify. We provide the views and logic to enable Two Factor Authentication (2FA) in your Filament app. Possible authentication methods are:
- SMS
- Authenticator app
Features and screenshots
Enable Two Factor Authentication (2FA)
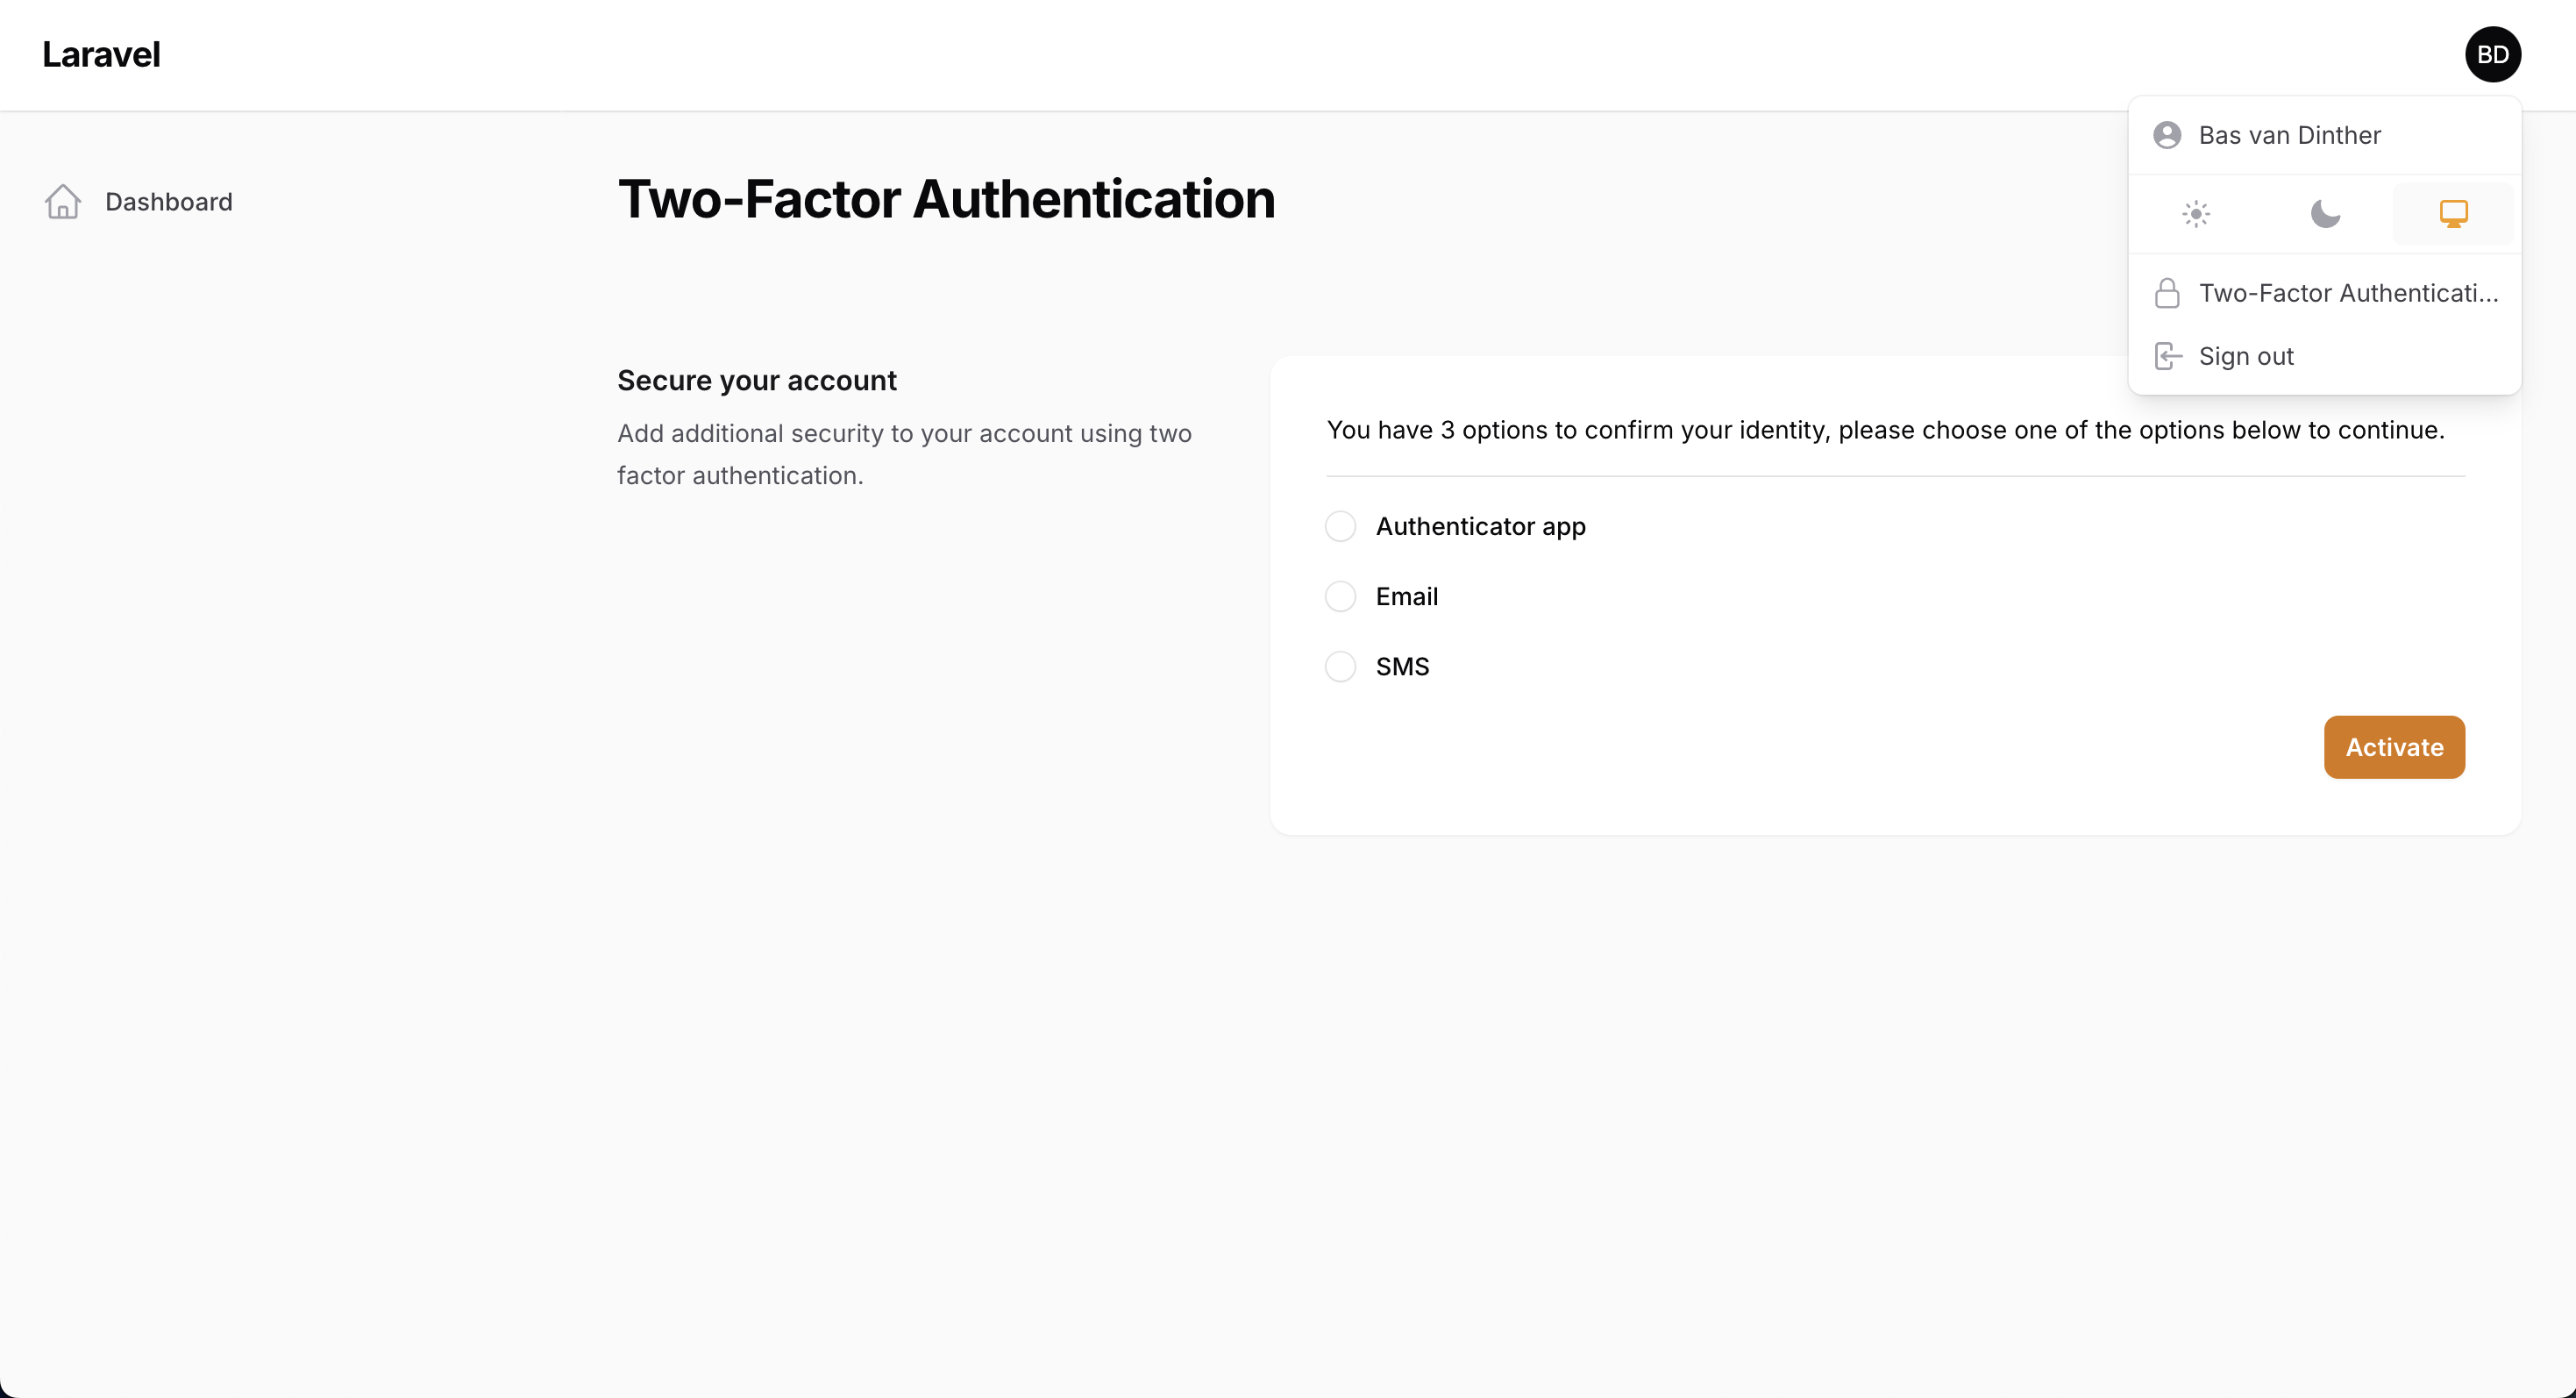
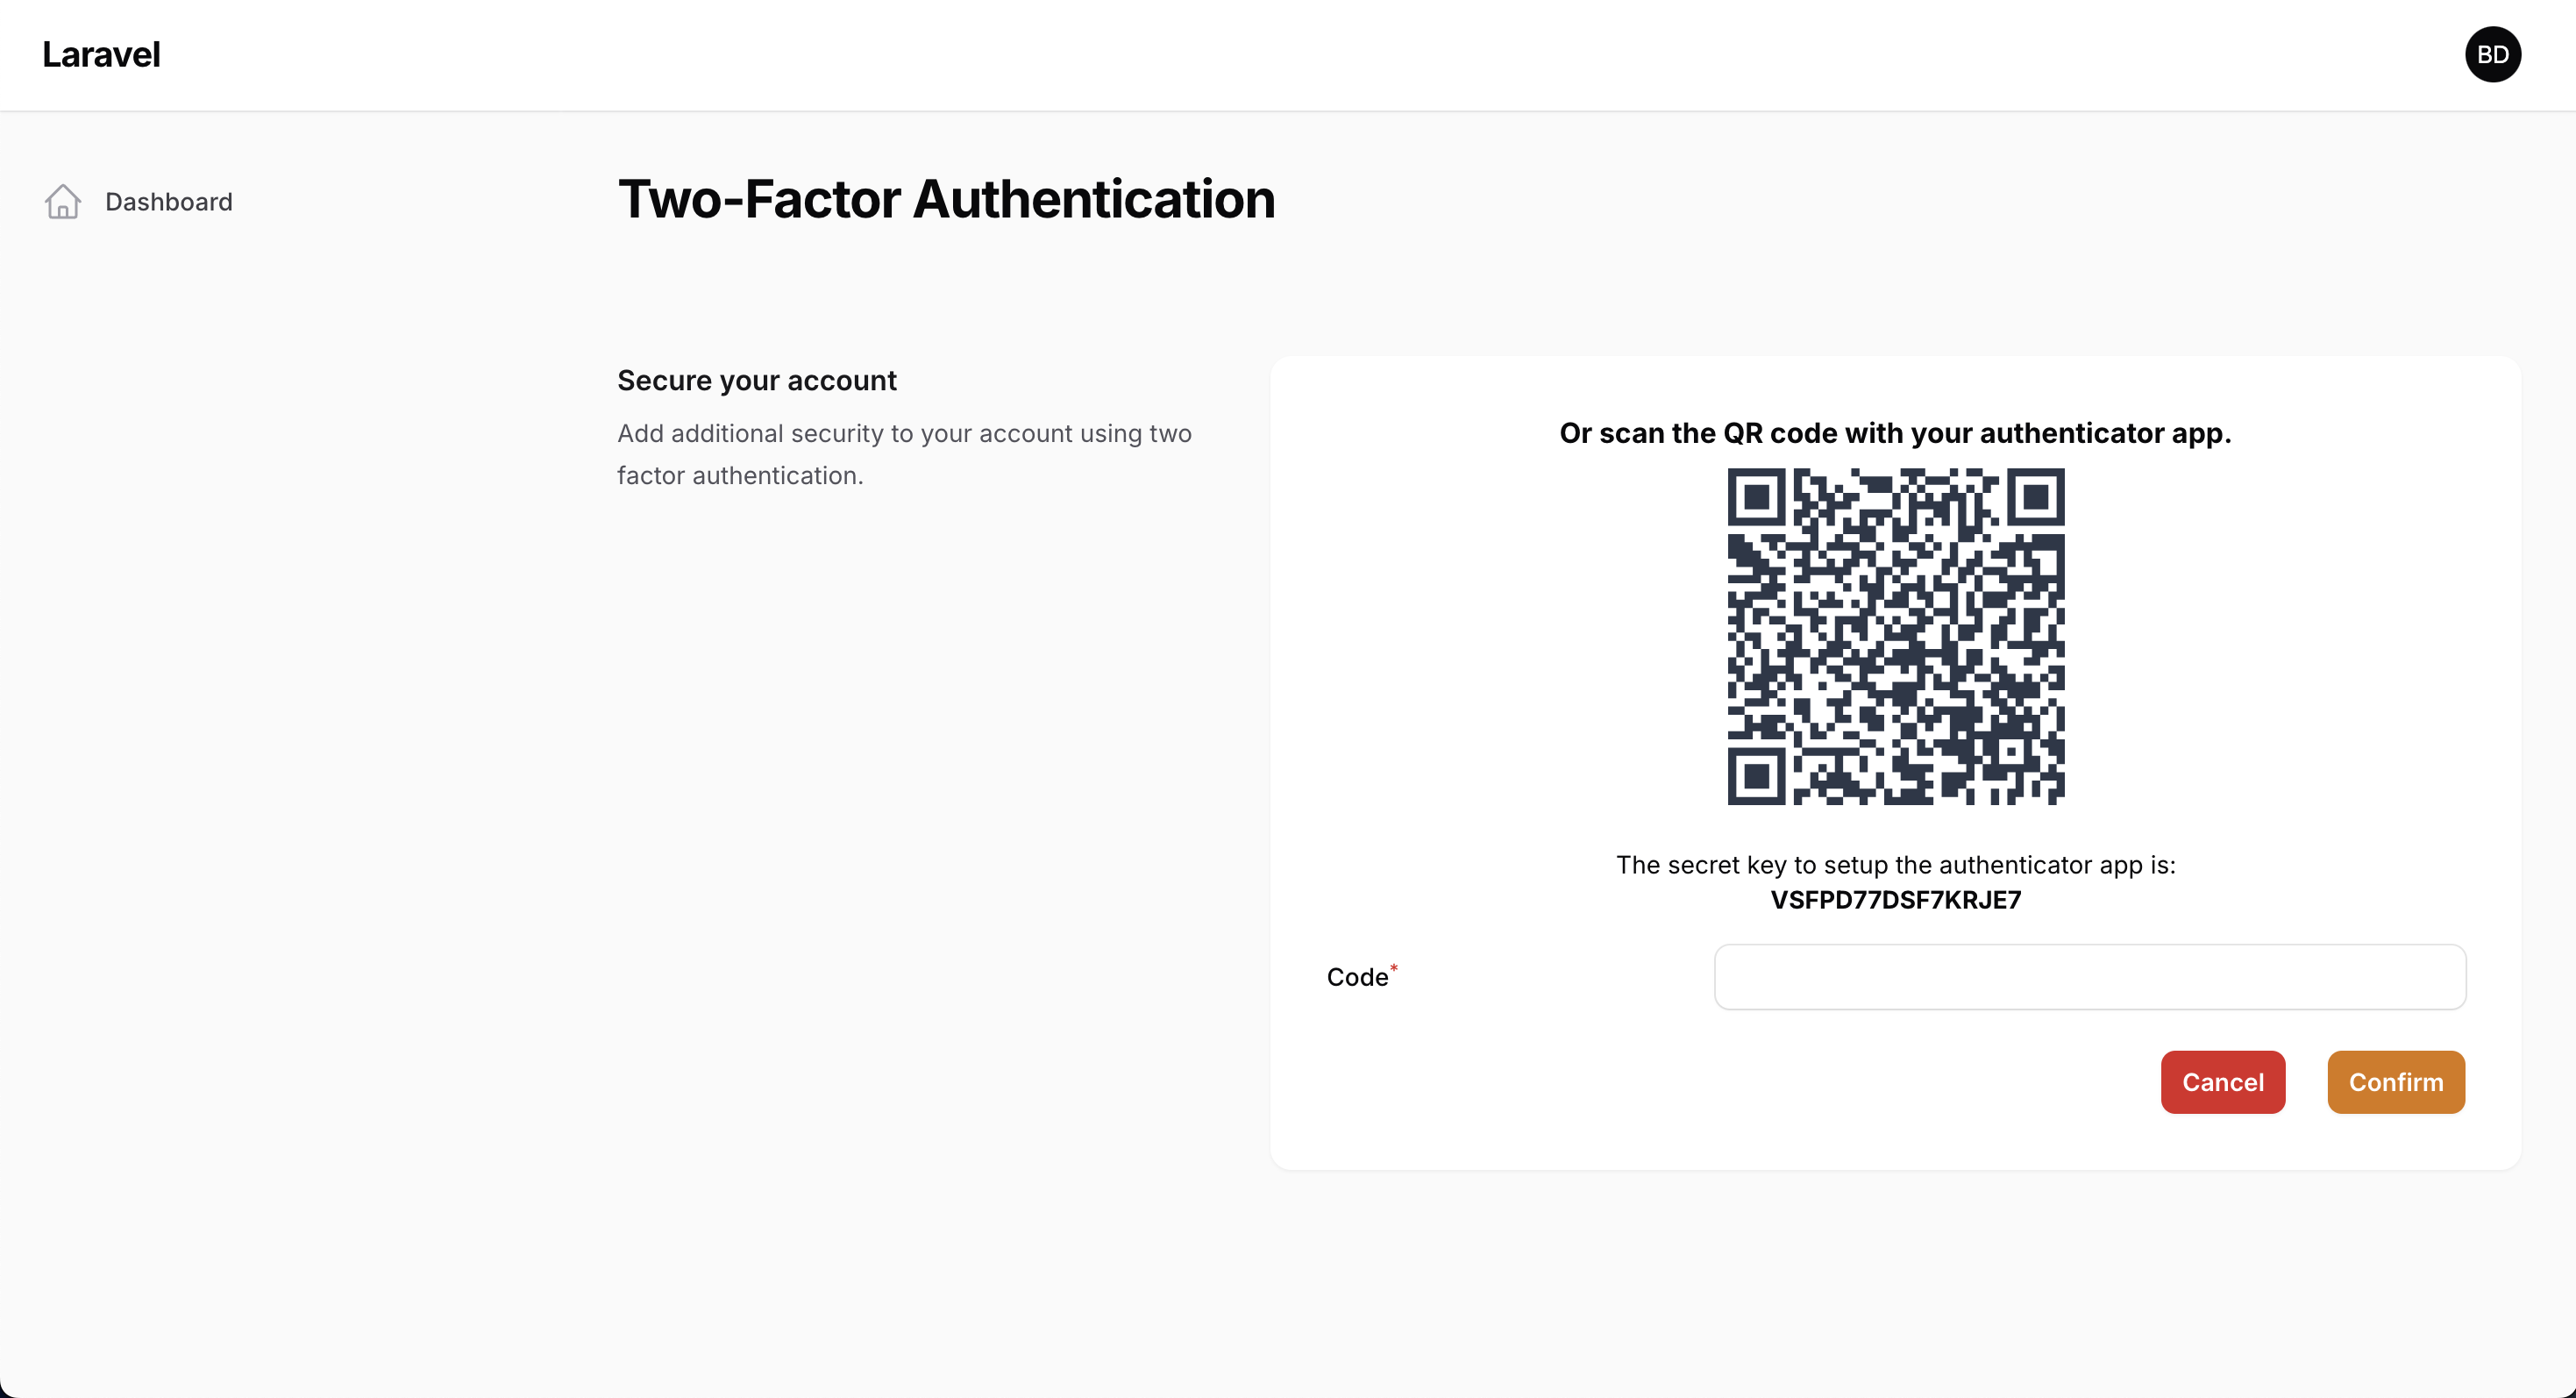
Using authenticator app as two factor method
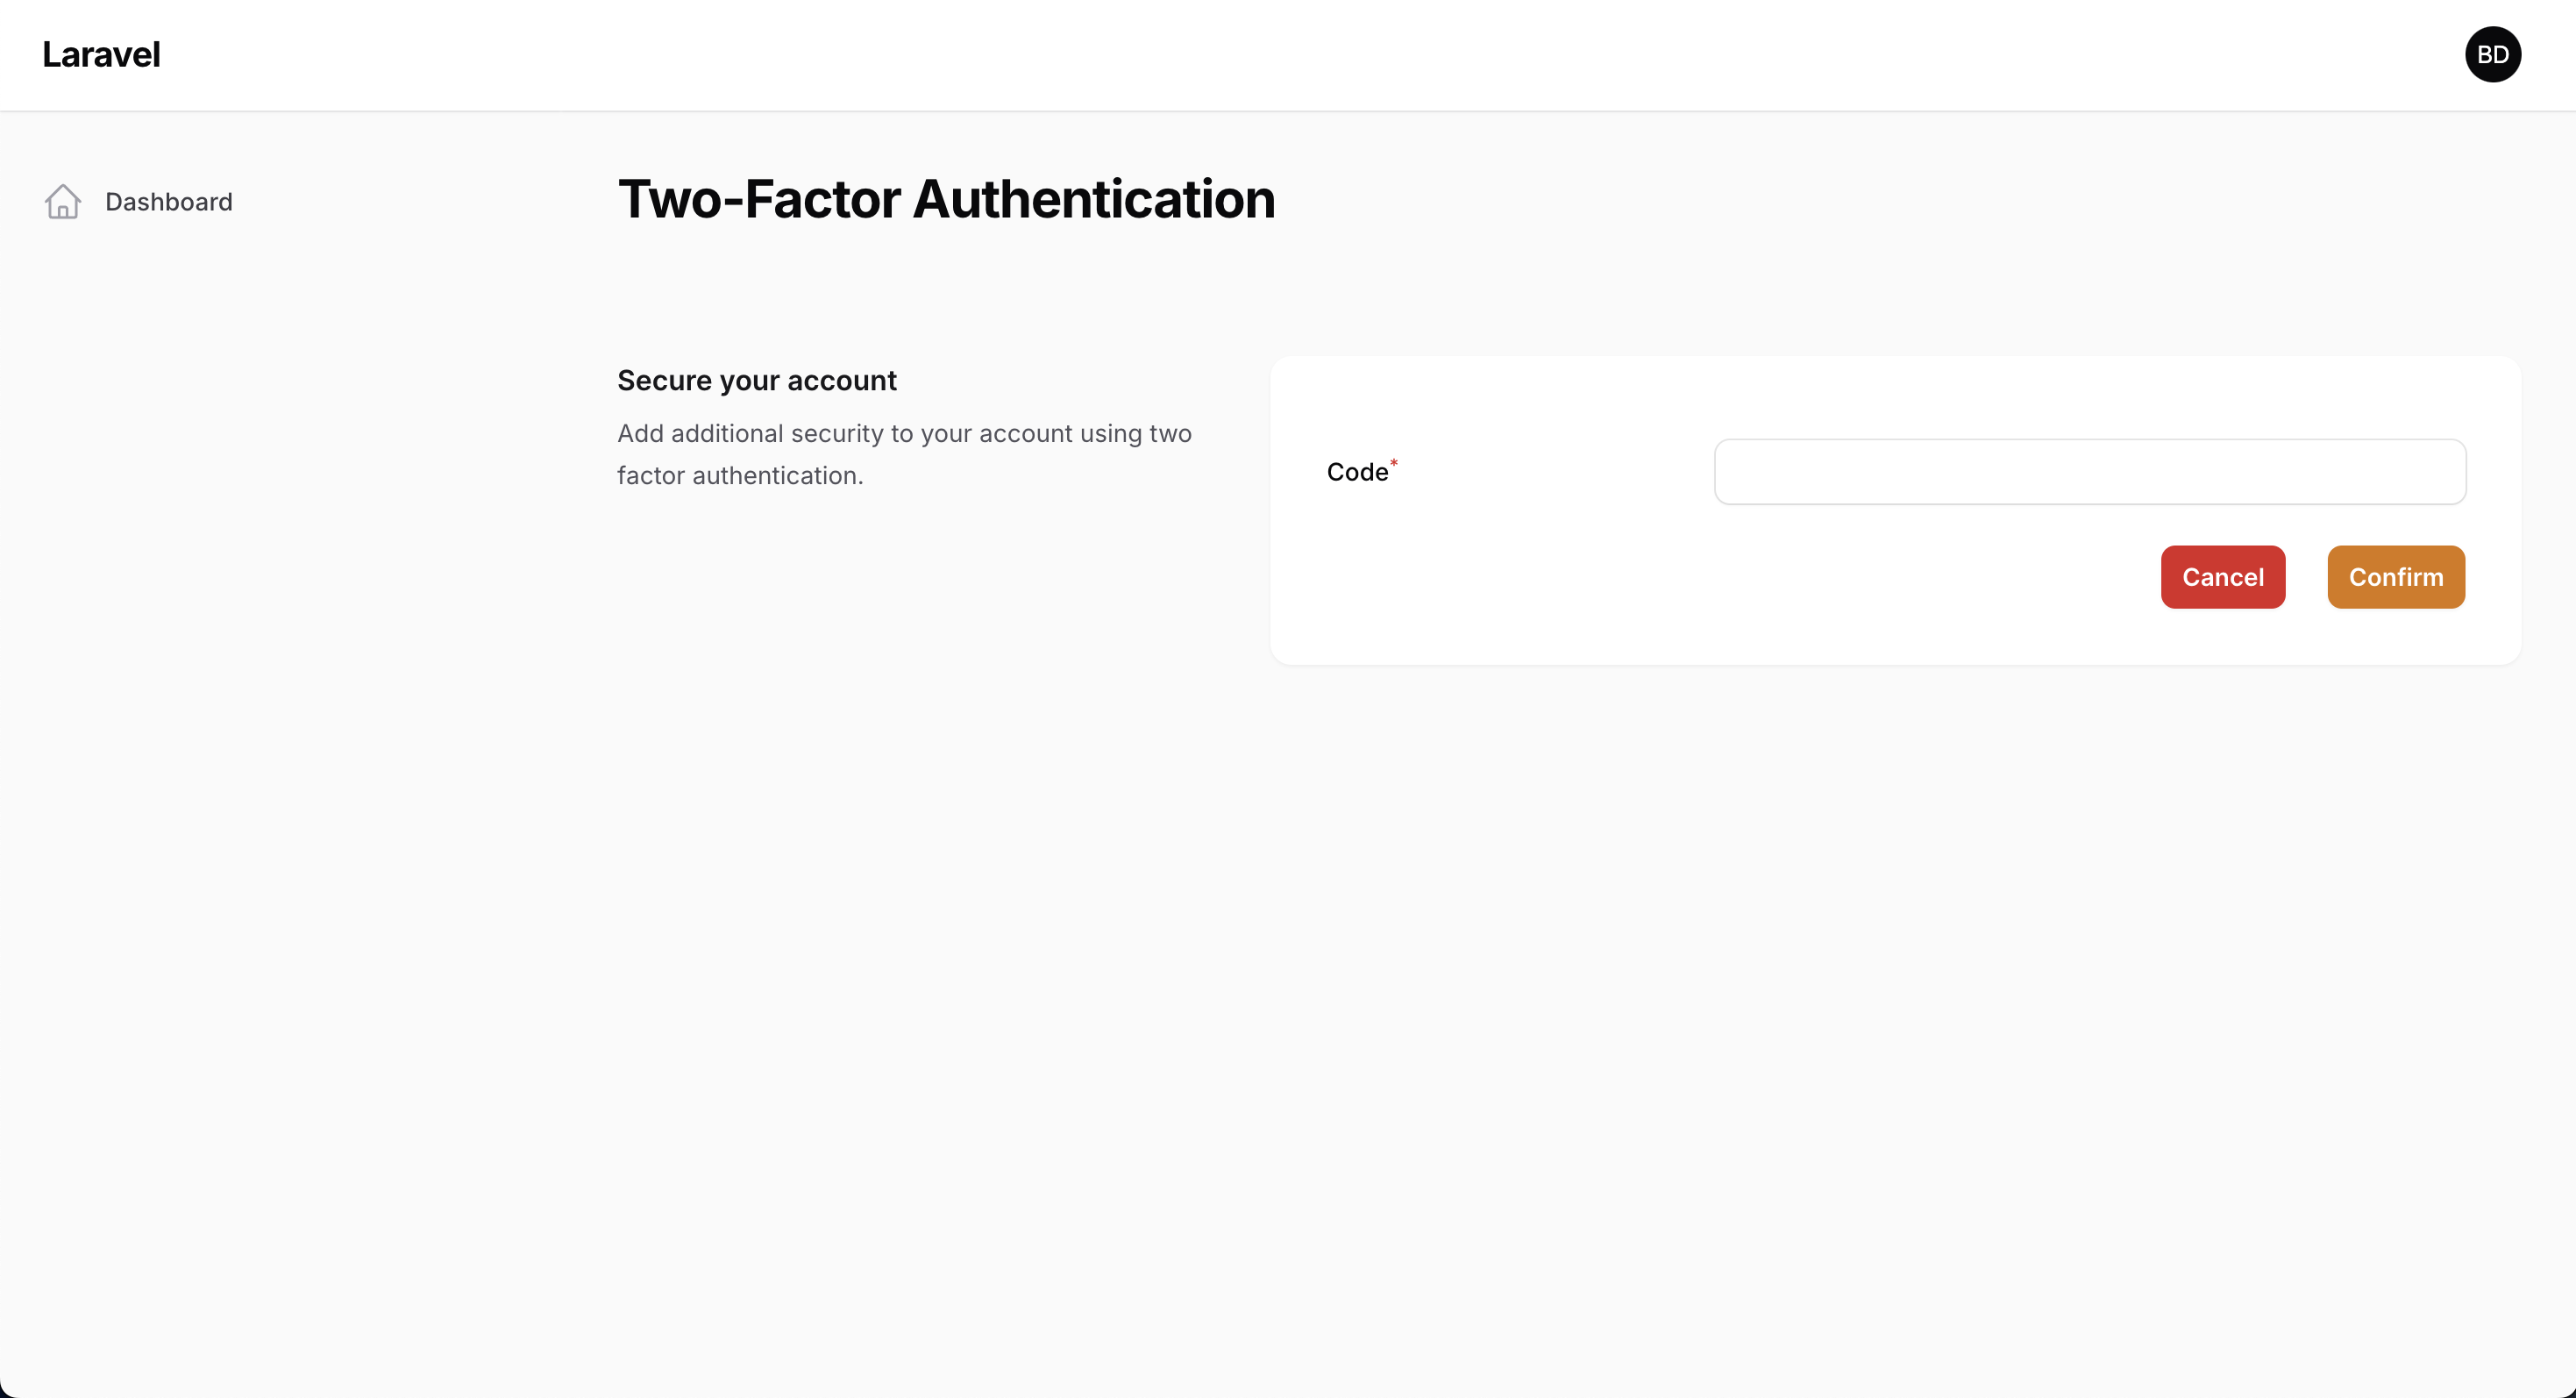
Using email or SMS as two factor method
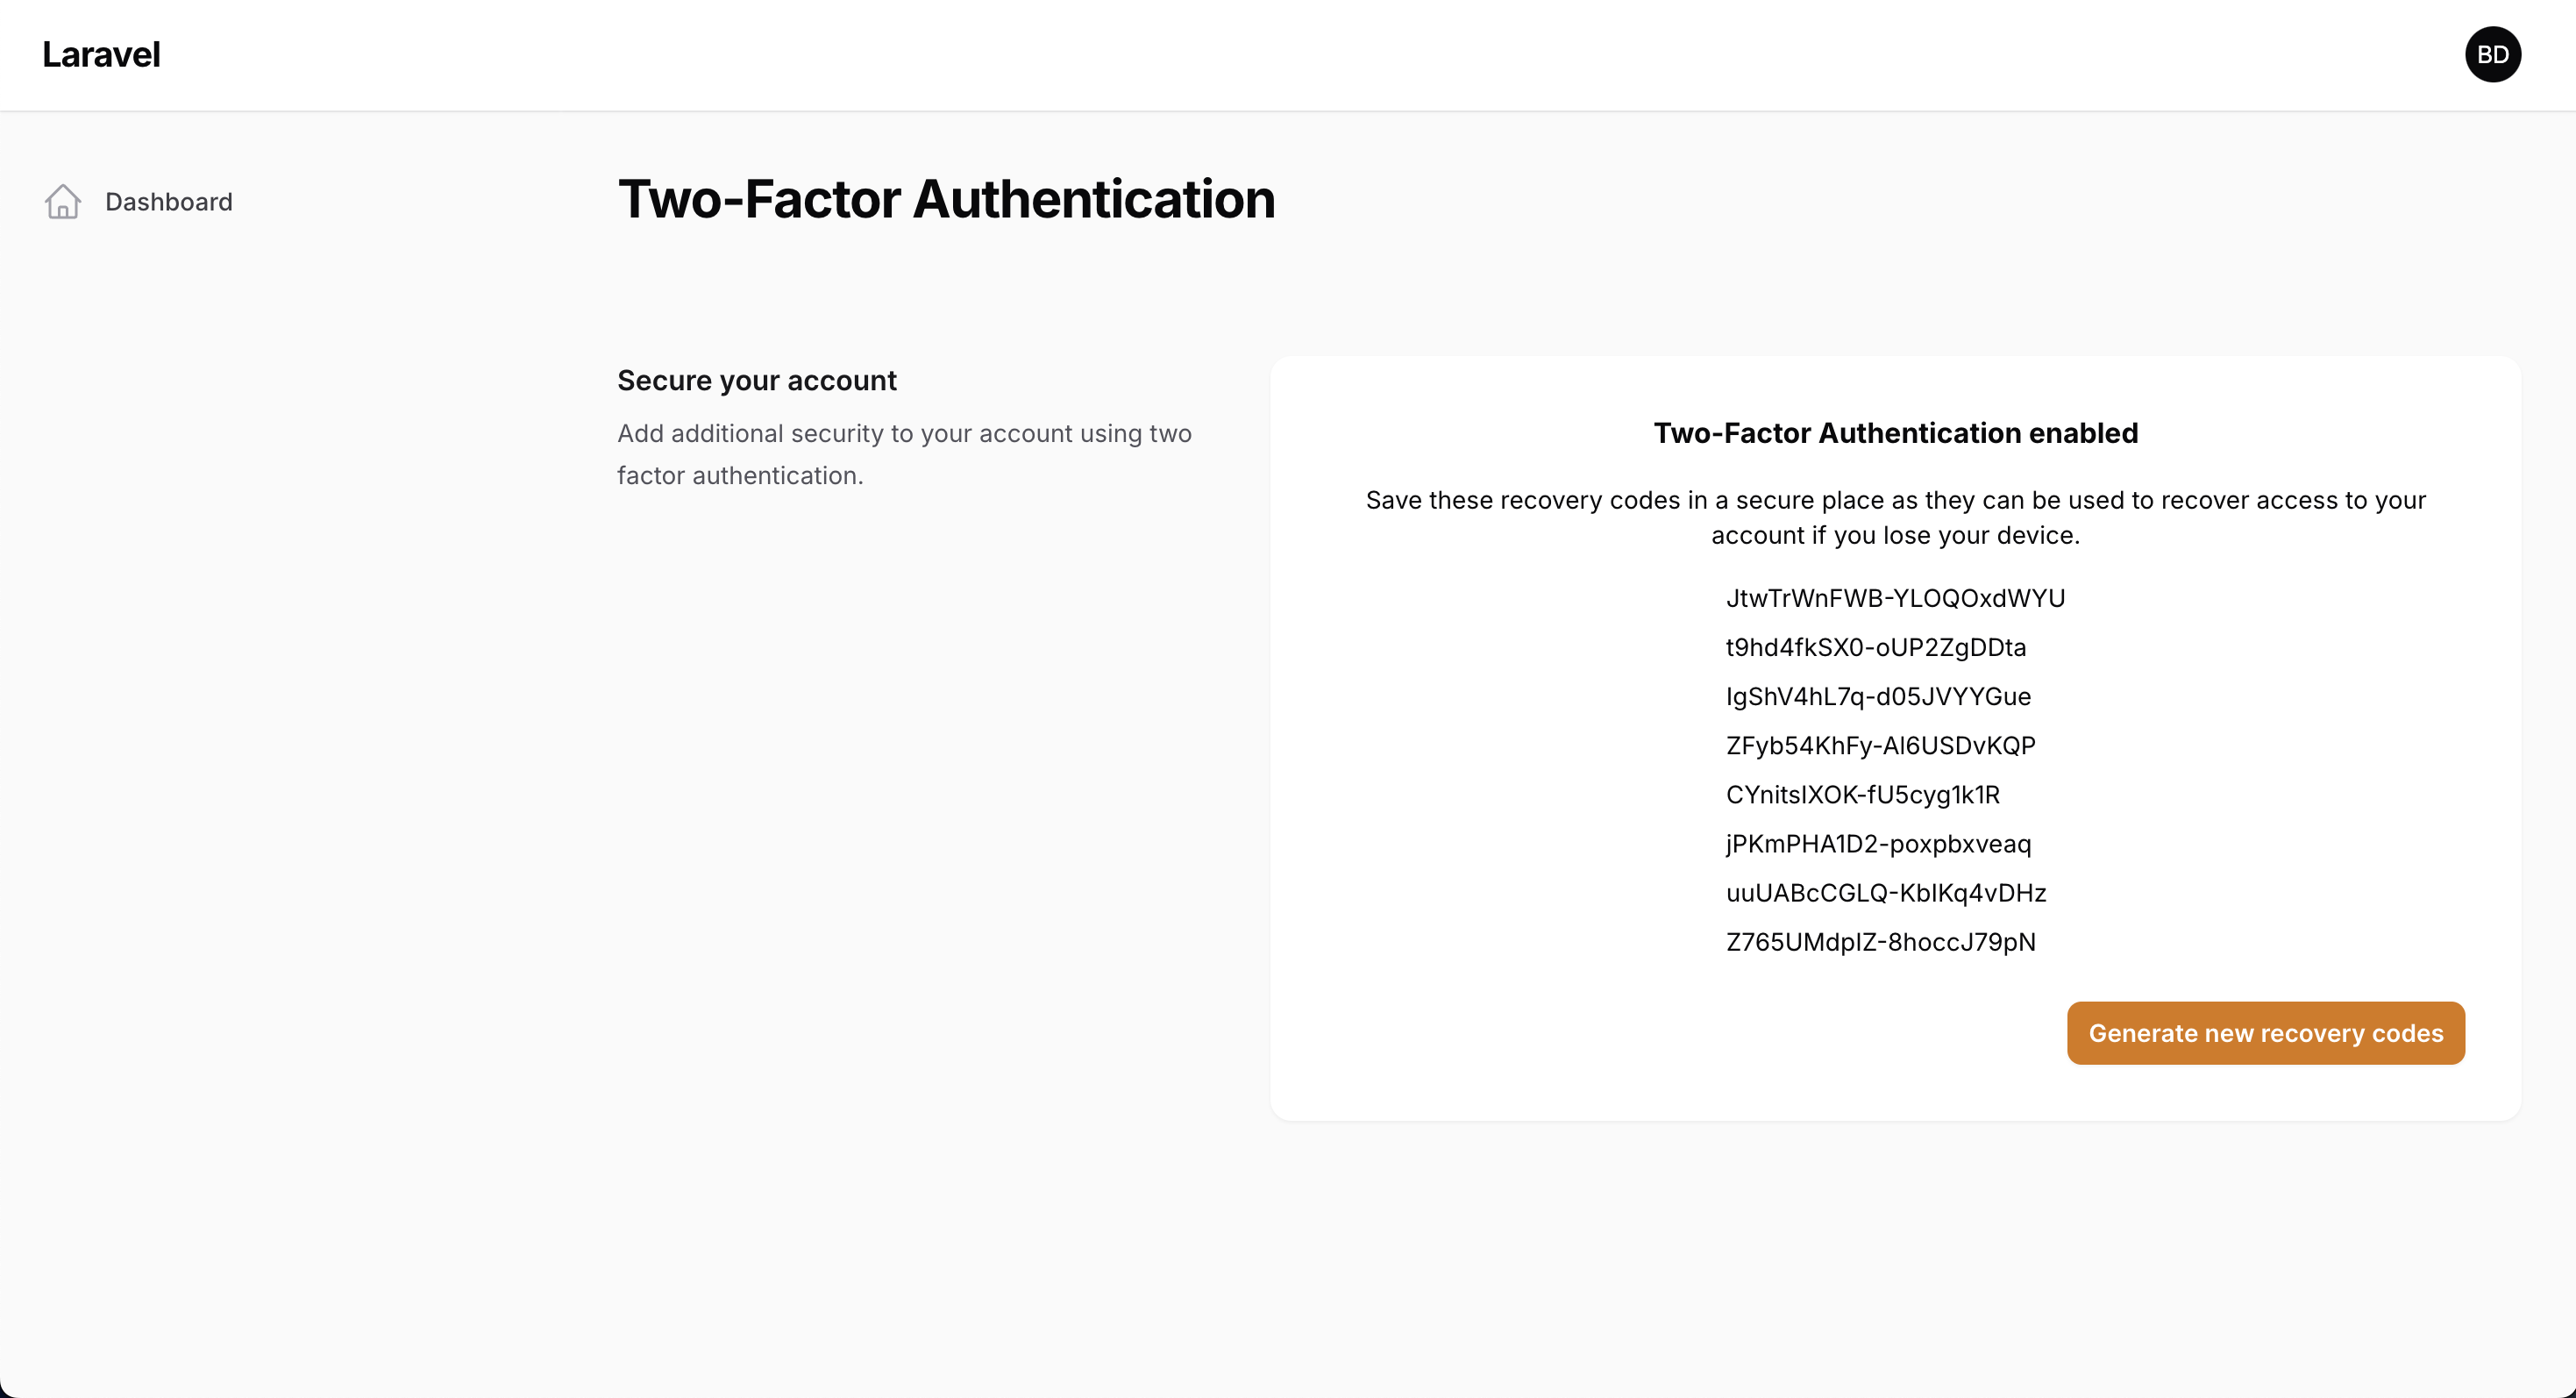
Recovery codes
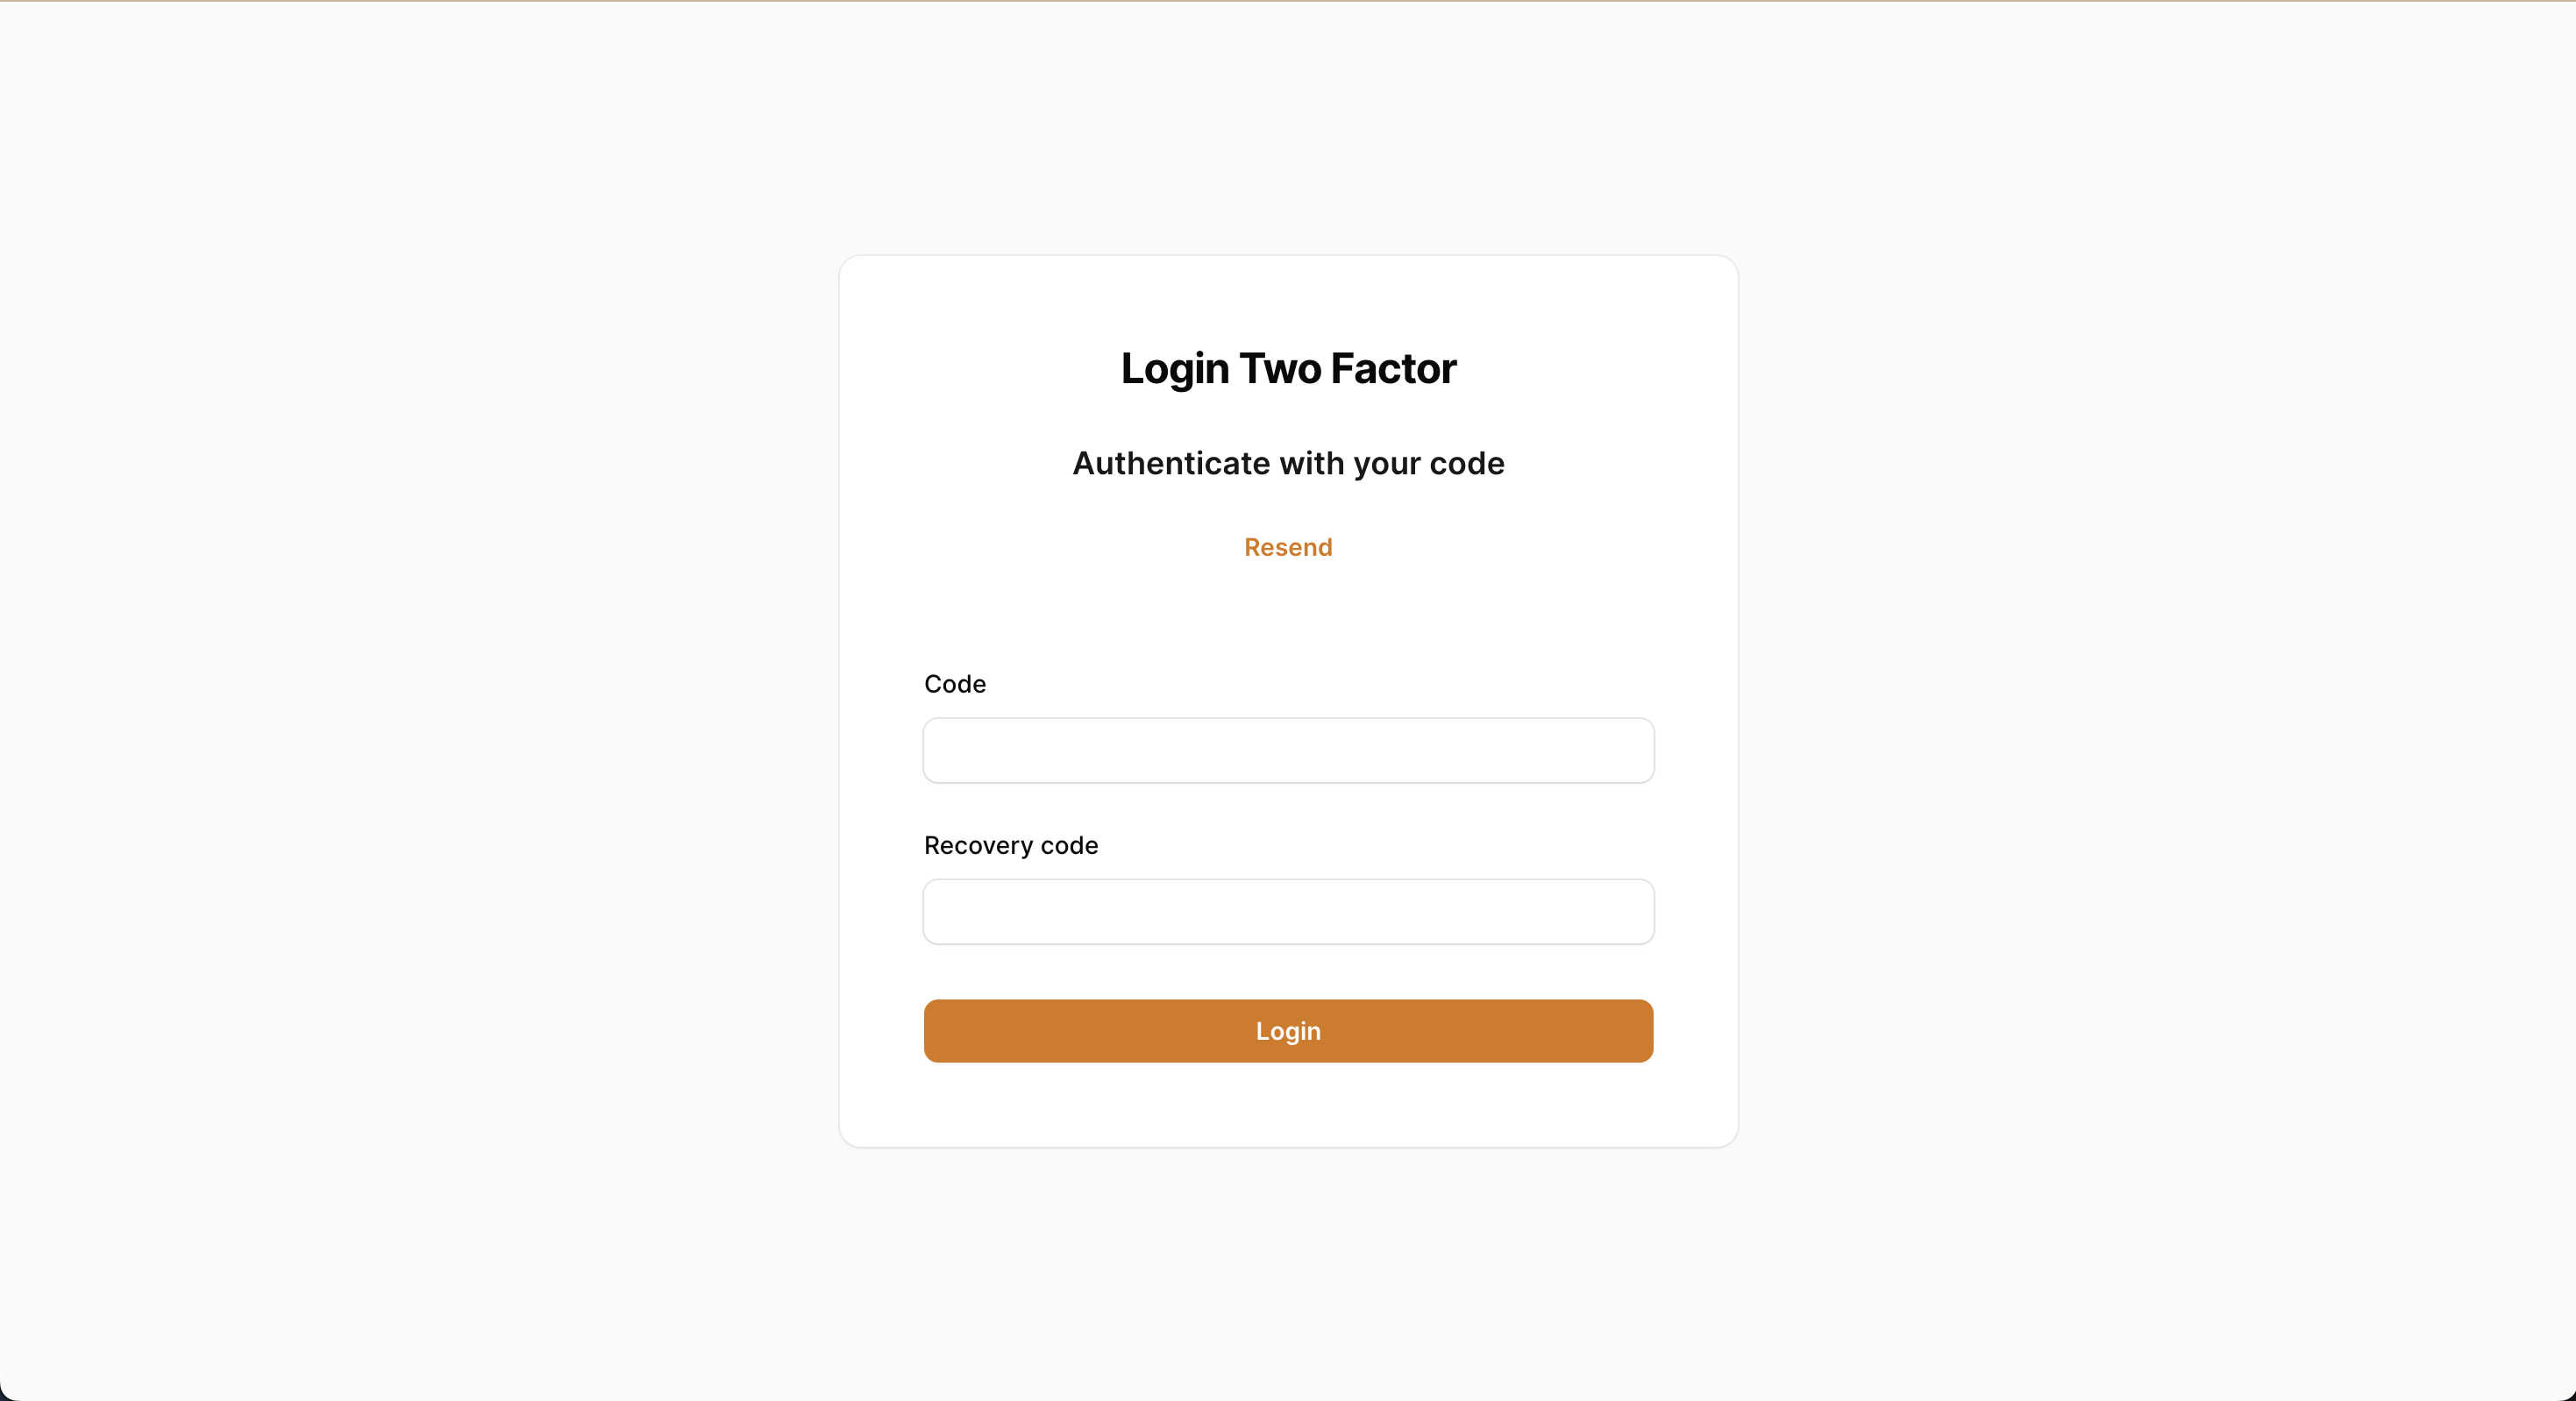
Two Factor authentication challenge
Installation
You can install the package via composer:
composer require backstage/filament-2fa
If you don't have Laravel Fortify installed yet, you can install it by running the following commands:
composer require laravel/fortify
php artisan fortify:install
php artisan migrate
You can then easily install the plugin by running the following command:
php artisan filament-2fa:install
Note
If you used Laravel Fortify before, you probably already have users with 2FA enabled. In that case, you should let the install command set the default two_factor_type for existing users. Else you may run into issues.
Then add the plugin to your PanelProvider:
use Backstage\TwoFactorAuth\TwoFactorAuthPlugin;

// ...

->plugin(TwoFactorAuthPlugin::make())
Make sure your user uses the TwoFactorAuthenticatable trait:
class User extends Authenticatable implements FilamentUser
{
    use HasApiTokens, HasFactory, Notifiable, TwoFactorAuthenticatable;
    // ...
}
Also define the two_factor_type cast on your user model:
use Backstage\TwoFactorAuth\Enums\TwoFactorType;

// ...

protected function casts(): array
{
    return [
        'two_factor_type' => TwoFactorType::class,
    ];
}
Warning
When using fillable instead of guarded on your model, make sure to add two_factor_type to the $fillable array.
Also make sure to add the package files to your vite.config.js file:
// ...

export default defineConfig({
    plugins: [
        laravel({
            input: [
                // ...
            ],
            content: [
                "./vendor/backstage/filament-2fa/resources/**.*.blade.php",
            ],
            refresh: true,
        }),
    ],
});
Register the event listener
Laravel 11
In case you're using Laravel 11, you need to register the event listener in your AppServiceProvider boot method:
use Laravel\Fortify\Events\TwoFactorAuthenticationChallenged;
use Laravel\Fortify\Events\TwoFactorAuthenticationEnabled;
use Backstage\TwoFactorAuth\Listeners\SendTwoFactorCodeListener;

// ...

public function boot(): void
{
    Event::listen([
        TwoFactorAuthenticationChallenged::class,
        TwoFactorAuthenticationEnabled::class
    ], SendTwoFactorCodeListener::class);
}
Laravel < 11
In case you're not using Laravel 11 yet, you will probably need to manually register the event listener in your EventServiceProvider:
use Laravel\Fortify\Events\TwoFactorAuthenticationEnabled;
use Laravel\Fortify\Events\TwoFactorAuthenticationChallenged;
use Backstage\TwoFactorAuth\Listeners\SendTwoFactorCodeListener;

// ...

protected $listen = [
    TwoFactorAuthenticationChallenged::class => [
        SendTwoFactorCodeListener::class,
    ],
    TwoFactorAuthenticationEnabled::class => [
        SendTwoFactorCodeListener::class,
    ],
];
If you want to customize the views (including email), you can publish them using the following command:
php artisan vendor:publish --tag=filament-2fa-views
Usage
Configuration
The authentication methods can be configured in the config/filament-2fa.php file (which is published during the install command).
You can simply add or remove (comment) the methods you want to use:
return [
    'options' => [
        TwoFactorType::authenticator,
        TwoFactorType::email,
        // TwoFactorType::phone,
    ],

    'sms_service' => null, // For example 'vonage', 'twilio', 'nexmo', etc.
    'send_otp_class' => null,
    'phone_number_field' => 'phone', // The field name of the phone number in your user model
];
If you want to use the SMS method, you need to provide an SMS service. You can check the Laravel Notifications documentation for ready-to-use services.
Example with Vonage
Like the example in the Laravel documentation you need to create the toVonage() method in your notification class. That's why we recommend creating a custom notification class that extends the original SendOTP class from this package:
<?php

namespace App\Notifications;

use Backstage\TwoFactorAuth\Notifications\SendOTP as NotificationsSendOTP;
use Illuminate\Notifications\Messages\VonageMessage;

class SendOTP extends NotificationsSendOTP
{
    /**
     * Get the Vonage / SMS representation of the notification.
     */
    public function toVonage(mixed $notifiable): VonageMessage
    {
        return (new VonageMessage)
            ->content('Your OTP is: ' . $this->getTwoFactorCode($notifiable));
    }
}
You can get the two factor code for the user by calling the getTwoFactorCode method on the notification class.
Then you need to set the send_otp_class in the config/filament-2fa.php file:
return [
    // ...

    'sms_service' => 'vonage',
    'send_otp_class' => App\Notifications\SendOTP::class,
];
Note
Make sure your user or notifiable model has a routeNotificationForVonage method that returns the phone number. Please check the documentation of the SMS service you're using for more information.
Customization
If you want to fully customize the pages, you can override the classes in the config/filament-2fa.php file:
return [
    // ...

    'login' => Login::class,
    'register' => Register::class,
    'challenge' => LoginTwoFactor::class,
    'two_factor_settings' => TwoFactor::class,
    'password_reset' => PasswordReset::class,
    'password_confirmation' => PasswordConfirmation::class,
    'request_password_reset' => RequestPasswordReset::class,
];
Make sure you extend the original classes from the package.
Multi-tenant setup
If you're using Filament in a multi-tenant setup, you need to set the tenant option to true in the config/filament-2fa.php file. You also need to set the userMenuItems in your panel config. Take a look at the example below:
use Backstage\TwoFactorAuth\Pages\TwoFactor;

// ...

->userMenuItems([
    // ...
    '2fa' => MenuItem::make()
        ->icon('heroicon-o-lock-closed')
        ->label(__('Two-Factor Authentication'))
        ->url(fn(): string => TwoFactor::getUrl()),
])
Forcing Two Factor Authentication
If you want to force users to enable Two Factor Authentication, you can add this to your PanelProvider:
->plugins([
    TwoFactorAuthPlugin::make()->forced(),
])
Prevent showing the Two Factor Authentication page in user menu
If you want to prevent showing the Two Factor Authentication page in the user menu, you can add this to your PanelProvider:
->plugins([
    TwoFactorAuthPlugin::make()->hideFromMenu(),
])->showInUserMenu(false)
Warning
When you're using the forced method, make sure to set the multi_tenancy option to true in the filament-2fa.php config file when you're using a multi-tenant setup. Otherwise, the forced setting will not work. We cannot check the tenant in the PanelProvider because the user is not authenticated yet.
Customizing the forced message
If you want to customize the forced message, you can publish the language file:
php artisan vendor:publish --tag="filament-2fa-translations"
Then you can customize the message in the lang/vendor/filament-2fa/en.json file. You should change the following keys:
{
    "Your administrator requires you to enable two-factor authentication.": "Your custom message here.",
    "Two-Factor Authentication mandatory": "Your custom title here."
}
Testing
composer test
Changelog
Please see CHANGELOG for more information on what has changed recently.
Contributing
Please see CONTRIBUTING for details.
Security Vulnerabilities
Please review our security policy on how to report security vulnerabilities.
Credits
License
The MIT License (MIT). Please see License File for more information.
vormkracht10/filament-two-factor-auth 适用场景与选型建议
vormkracht10/filament-two-factor-auth 是一款 基于 PHP 开发的 Composer 扩展包,目前已累计 31 次下载、GitHub Stars 达 69, 最近一次更新时间为 2024 年 08 月 16 日, 在 PHP 生态内属于活跃度较高的组件。
它主要适用于以下技术方向: 「laravel」 「vormkracht10」 「filament-2fa」 等业务场景。在实际项目中,围绕这些方向常见需要落地的问题包括:接口对接、性能调优、并发安全、与既有框架(Laravel / ThinkPHP / Yii / Webman 等)的兼容适配,以及生产环境的日志埋点与稳定性保障。
我们在过去多个企业项目中使用过 vormkracht10/filament-two-factor-auth 或与其功能相近的方案,如果你在选型或落地过程中遇到问题,例如 版本兼容、二次改造、私有化封装、与内部系统对接、生产 BUG 排查,欢迎联系我们协助评估。
基于 vormkracht10/filament-two-factor-auth 在你已有业务上做功能扩展、字段裁剪、UI 适配、与内部账号 / 权限 / 日志系统的深度对接。
线上偶发问题、内存泄漏、慢查询、并发异常等排查修复;针对高流量场景做缓存、队列、索引层面的调优。
承接完整的项目从需求 → 设计 → 开发 → 上线 → 长期运维;也可按月提供技术保姆服务。
与 vormkracht10/filament-two-factor-auth 相关的其它包
同方向 / 同关键字的高下载量 PHP Composer 包推荐,方便对比选型:
This package helps you integrate Laravel Fortify with ease in your Filament apps.
Is your Laravel app OK? Health checks running in production to ensure you can sleep well at night and be sure everything is still OK.
Two Factor Auth for filament
Laravel package to generate dynamic Open Graph images
This package helps you integrate Laravel Fortify with ease in your Filament apps.
This package provides Genesys OAuth 2.0 support for the PHP League's OAauth 2.0 Client
统计信息
- 总下载量: 31
- 月度下载量: 0
- 日度下载量: 0
- 收藏数: 69
- 点击次数: 26
- 依赖项目数: 0
- 推荐数: 0
其他信息
- 授权协议: MIT
- 更新时间: 2024-08-16